

houdini内部快速实现一颗树支持PivotPainter
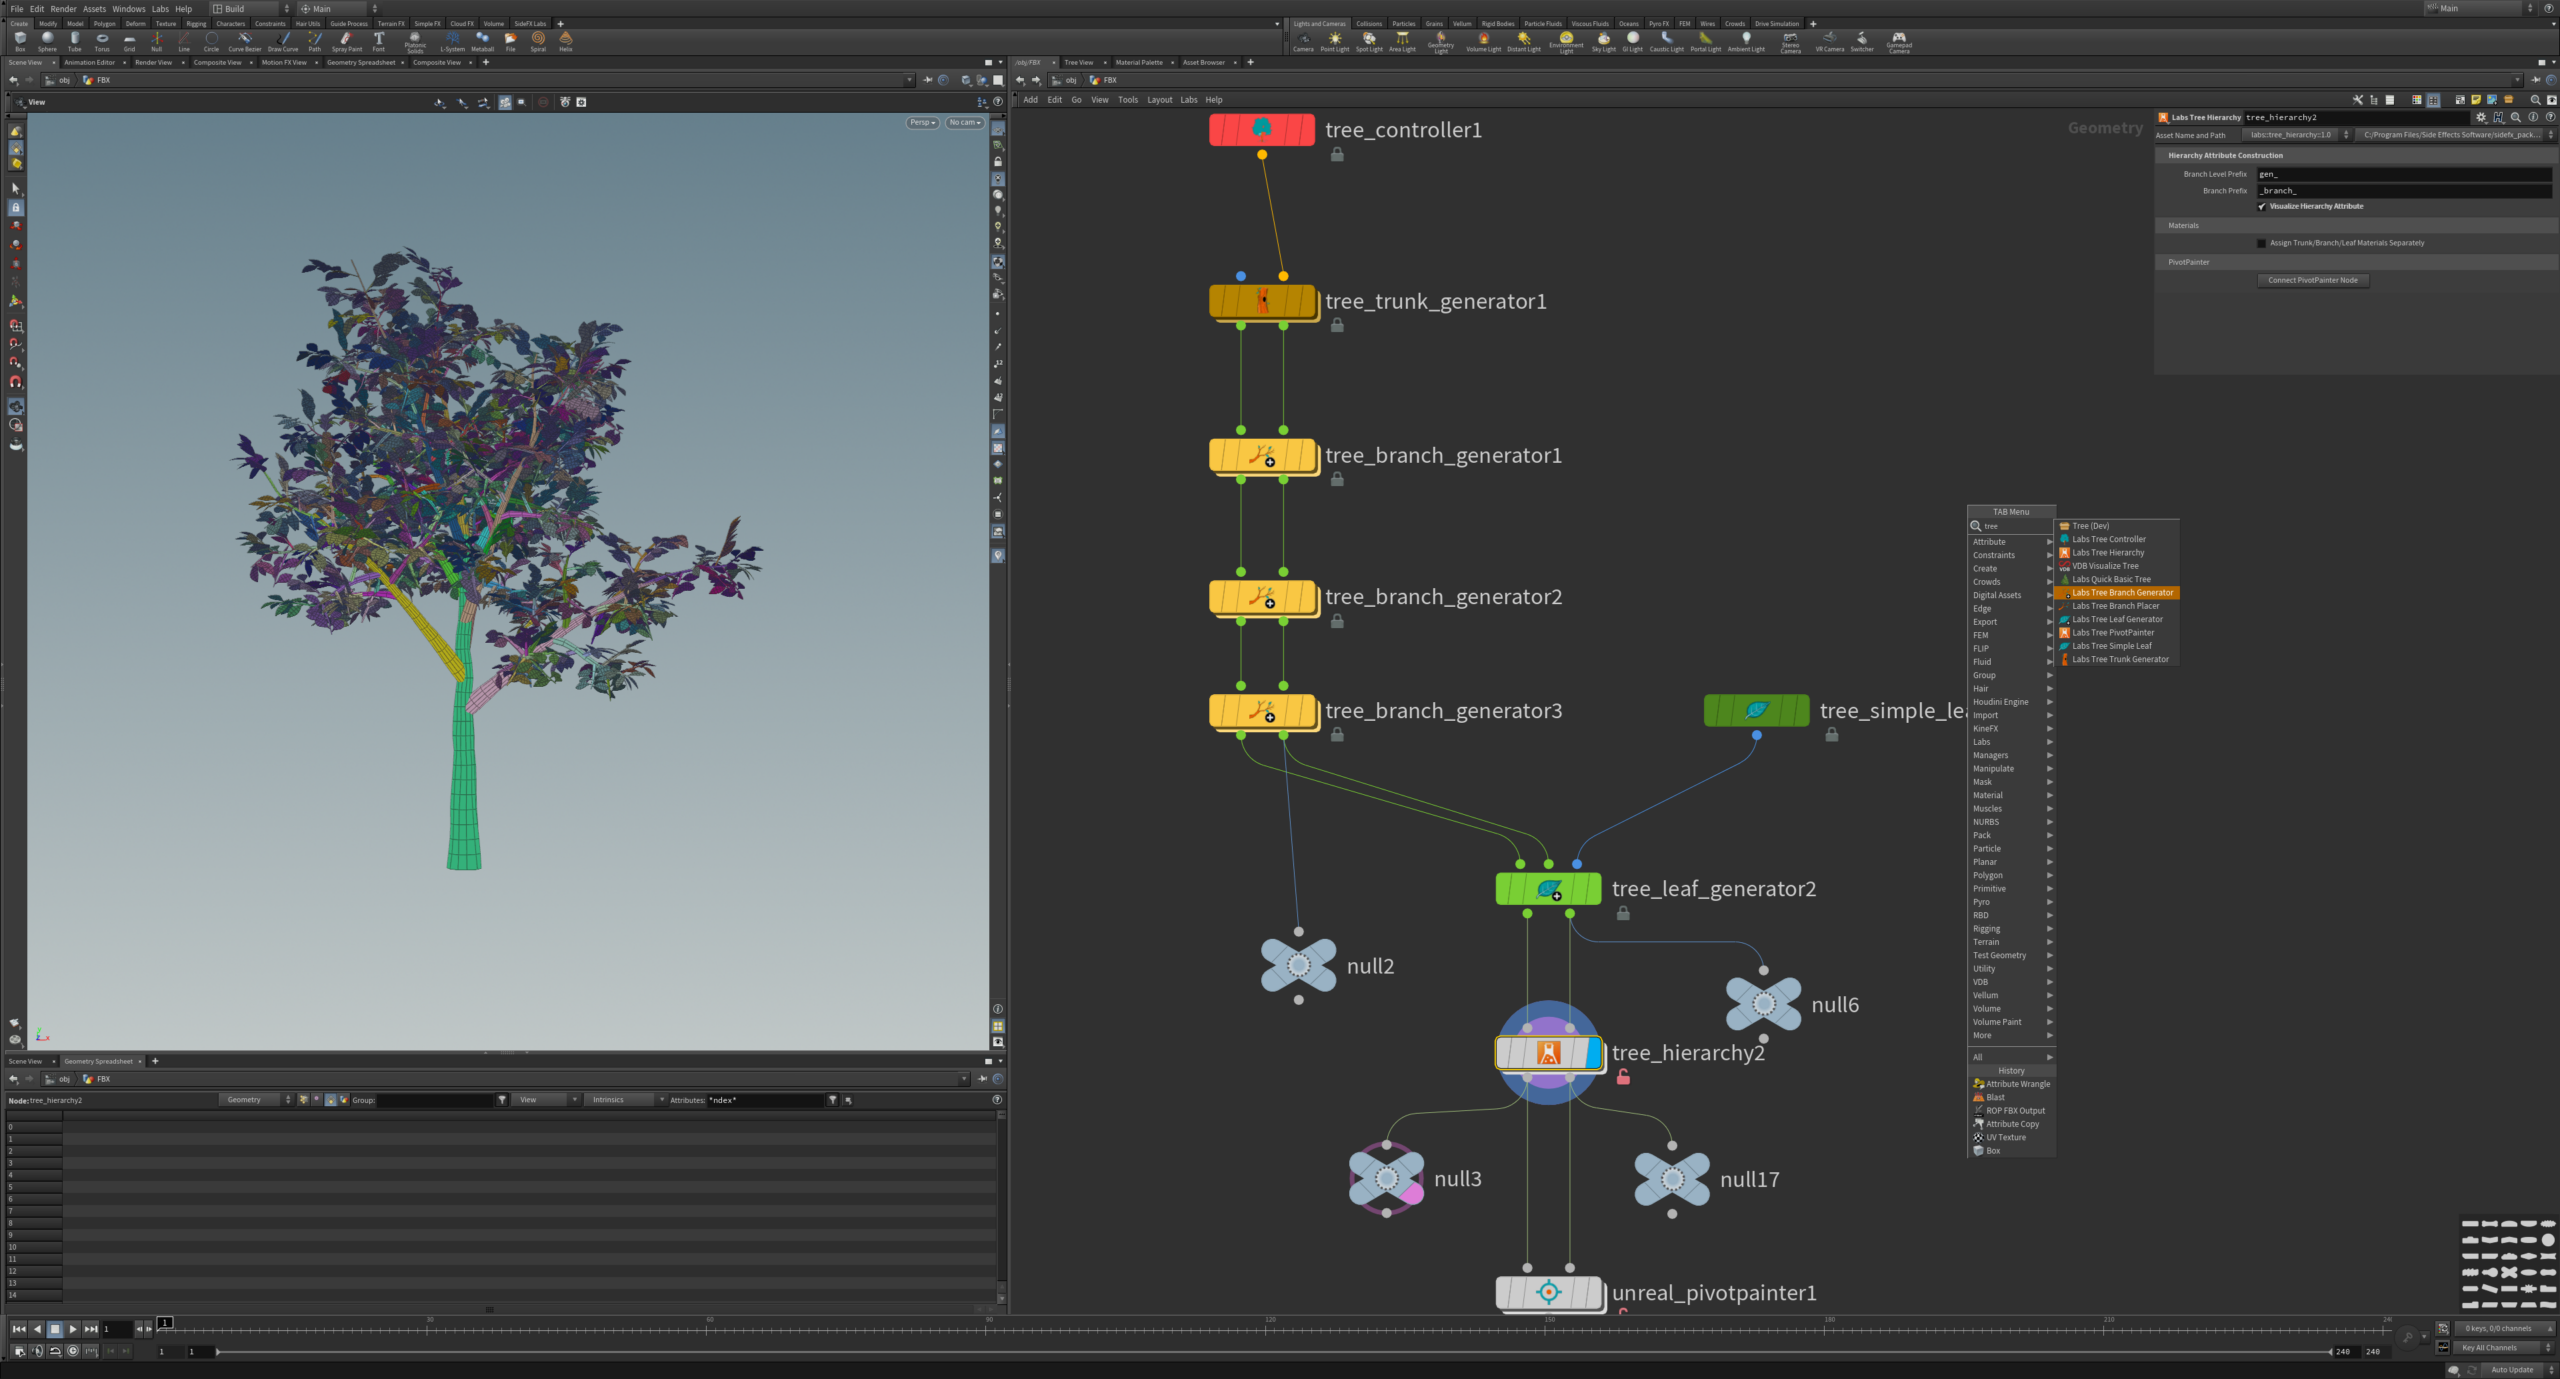
总结7种节点

tree_controller:总控,可以调节下面链接的多个节点参数,设置参数,并且可以覆盖每个节点。
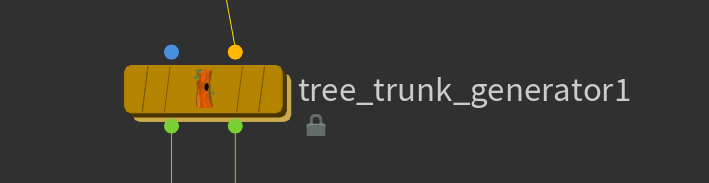
tree_trunk_generator:生成一个树主干,可以根据输入曲线生成。

tree_branch_generator:枝干生成器
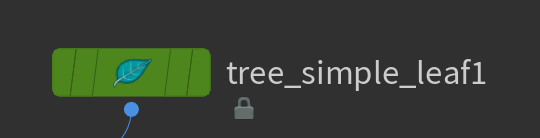
tree_simple_leaf:单个叶子生成

tree_leaf_generator:叶子生成器,生成到枝干上。
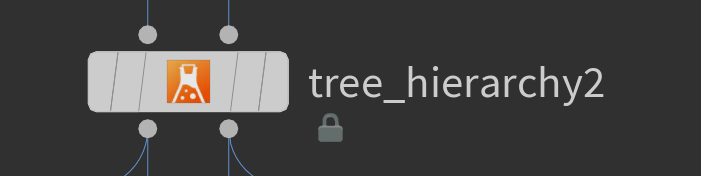
tree_hierarchy:这个工具从使用上述树生成器工具创建的树中得到层级关系和轴向轴点,用于unreal_pivotpainter节点。
输出0为带层级结构的Mesh:
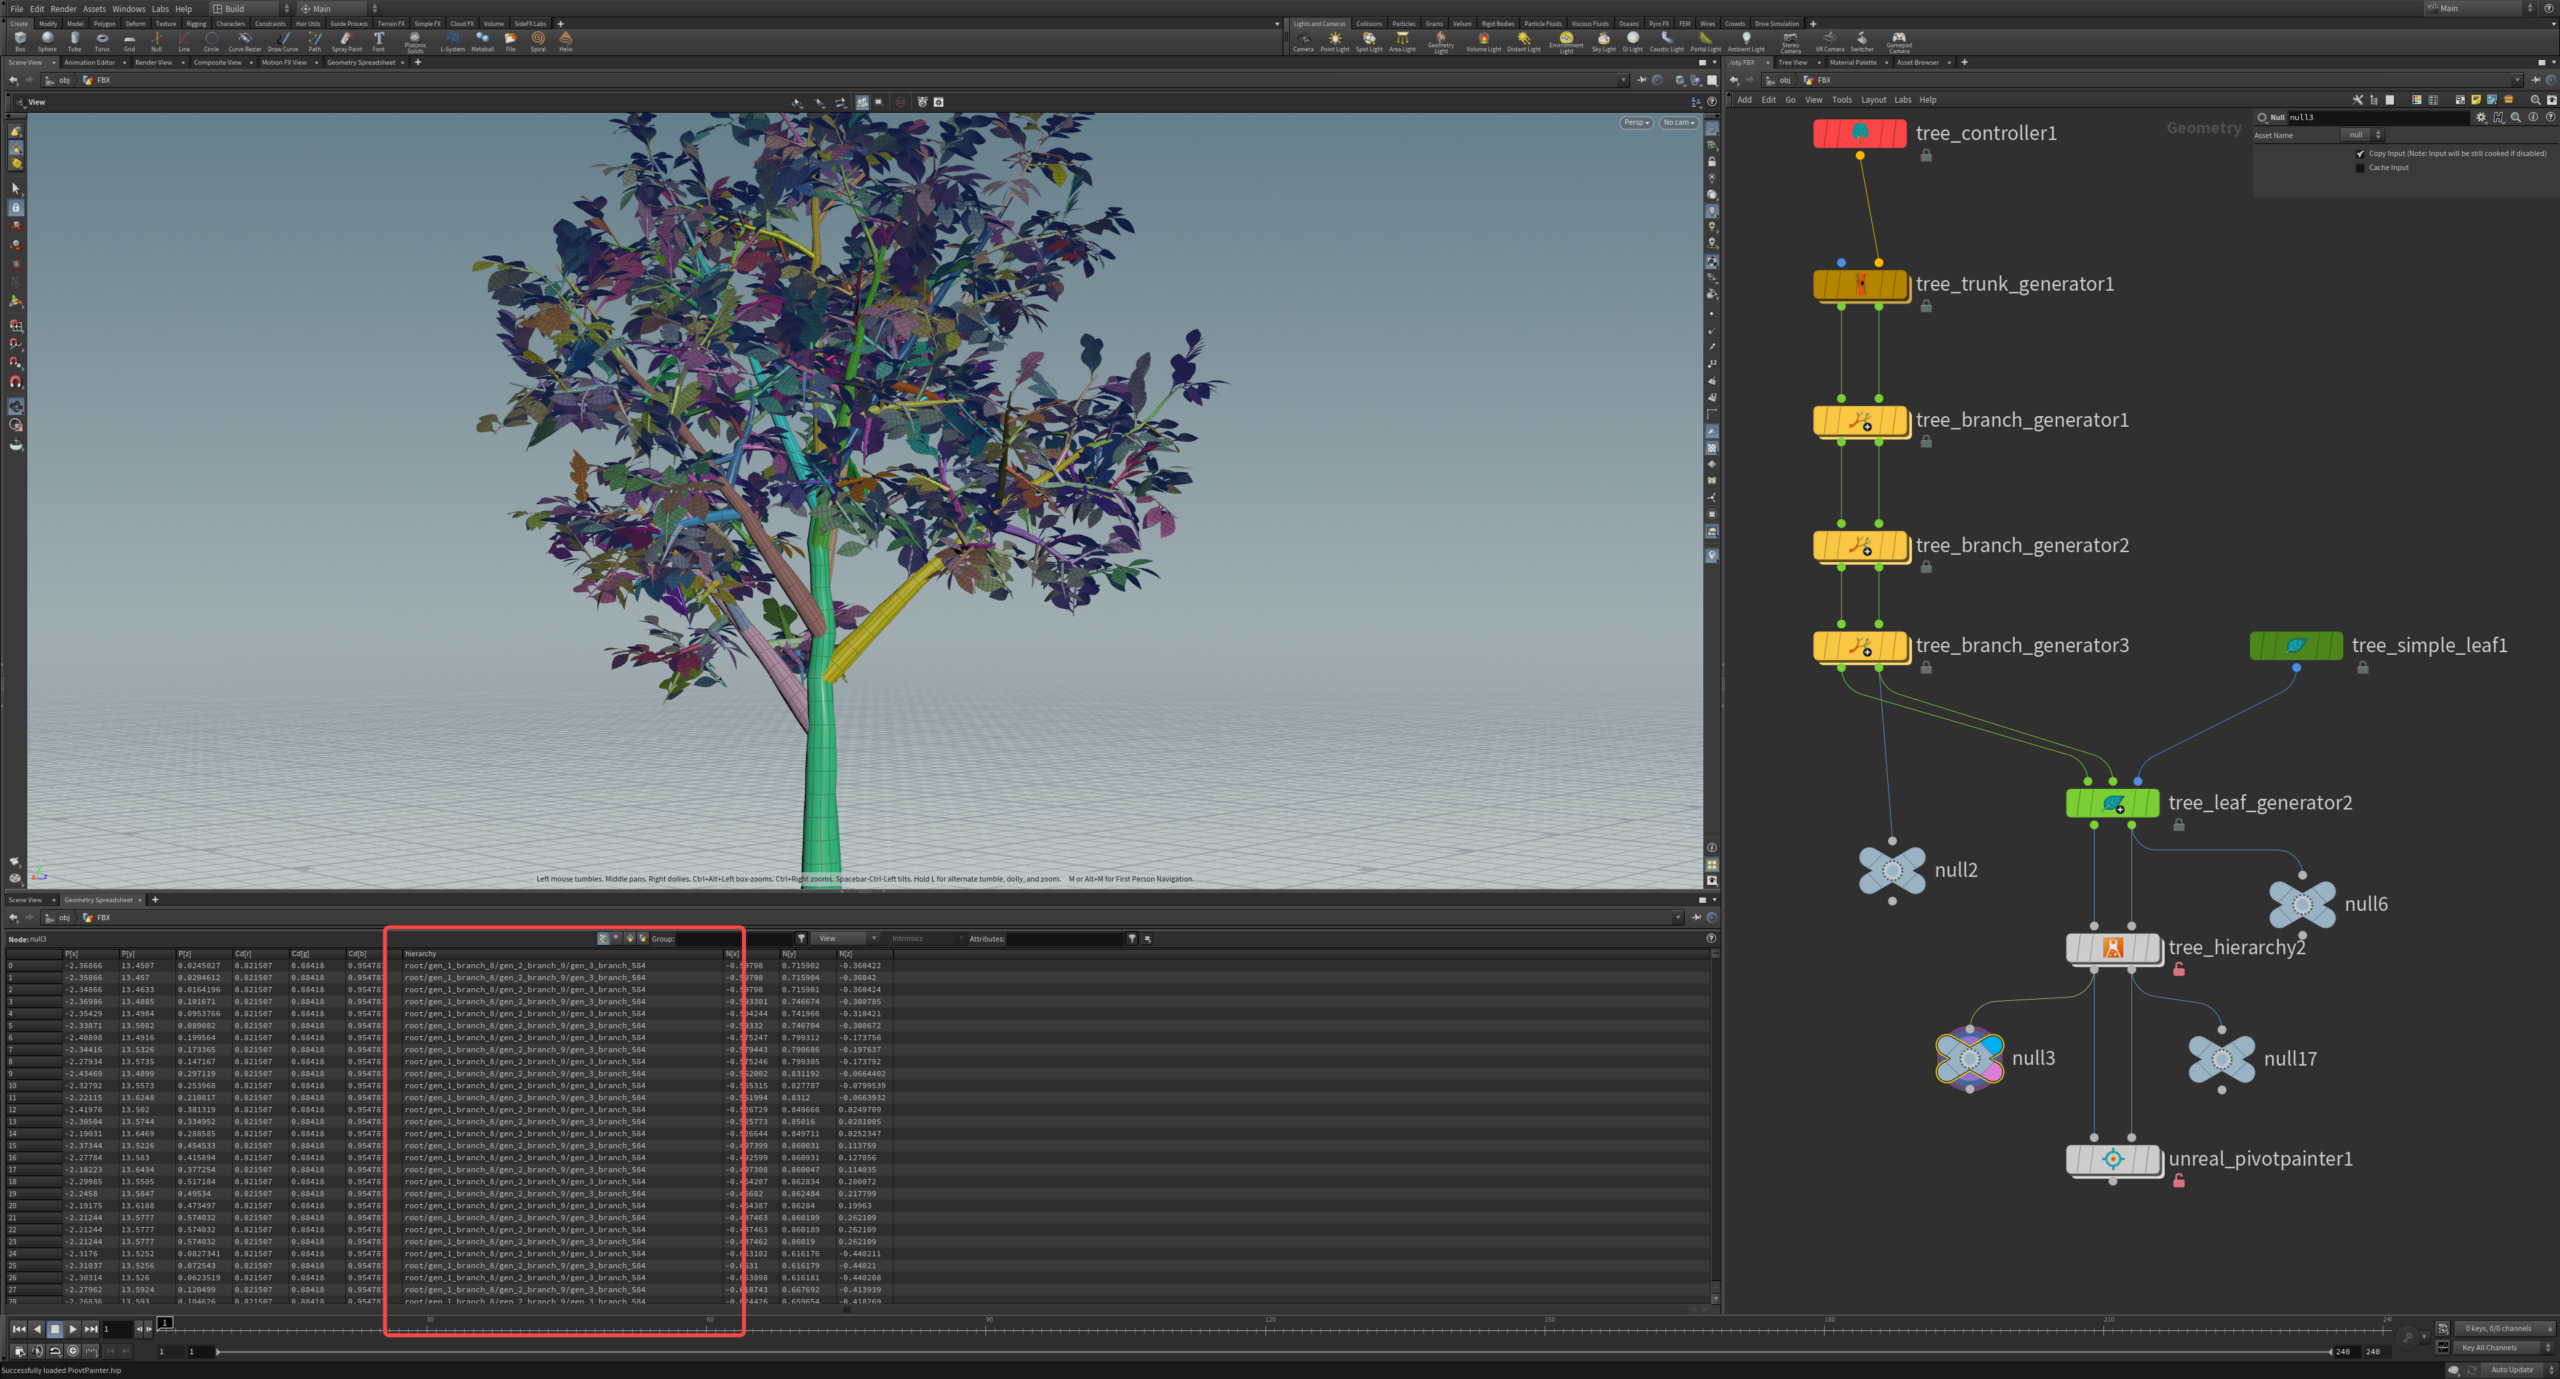
输出1为带层级结构的轴点轴向:

s@name = split(prim(0,"hierarchy",@primnum),"/")[-1];
最后通过
unreal_pivotpainter 导出我们需要的Mesh(uv1自动生成)和贴图.
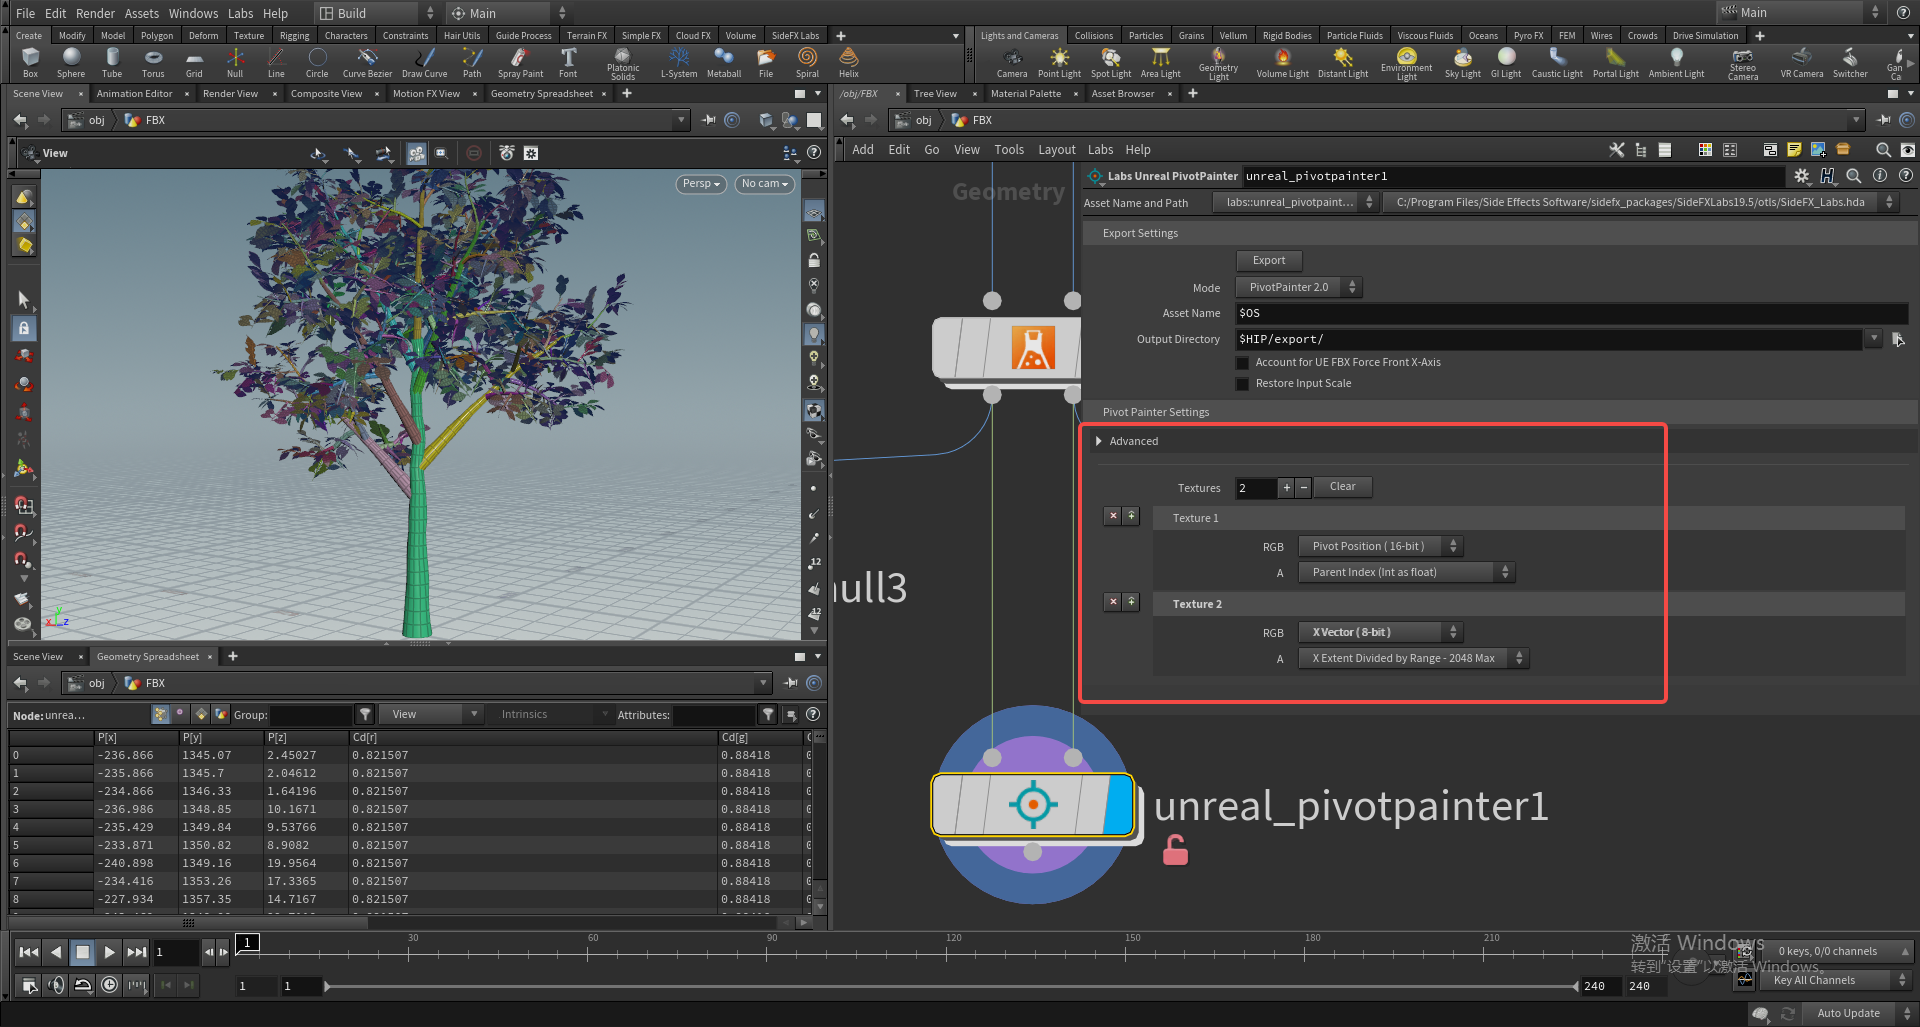
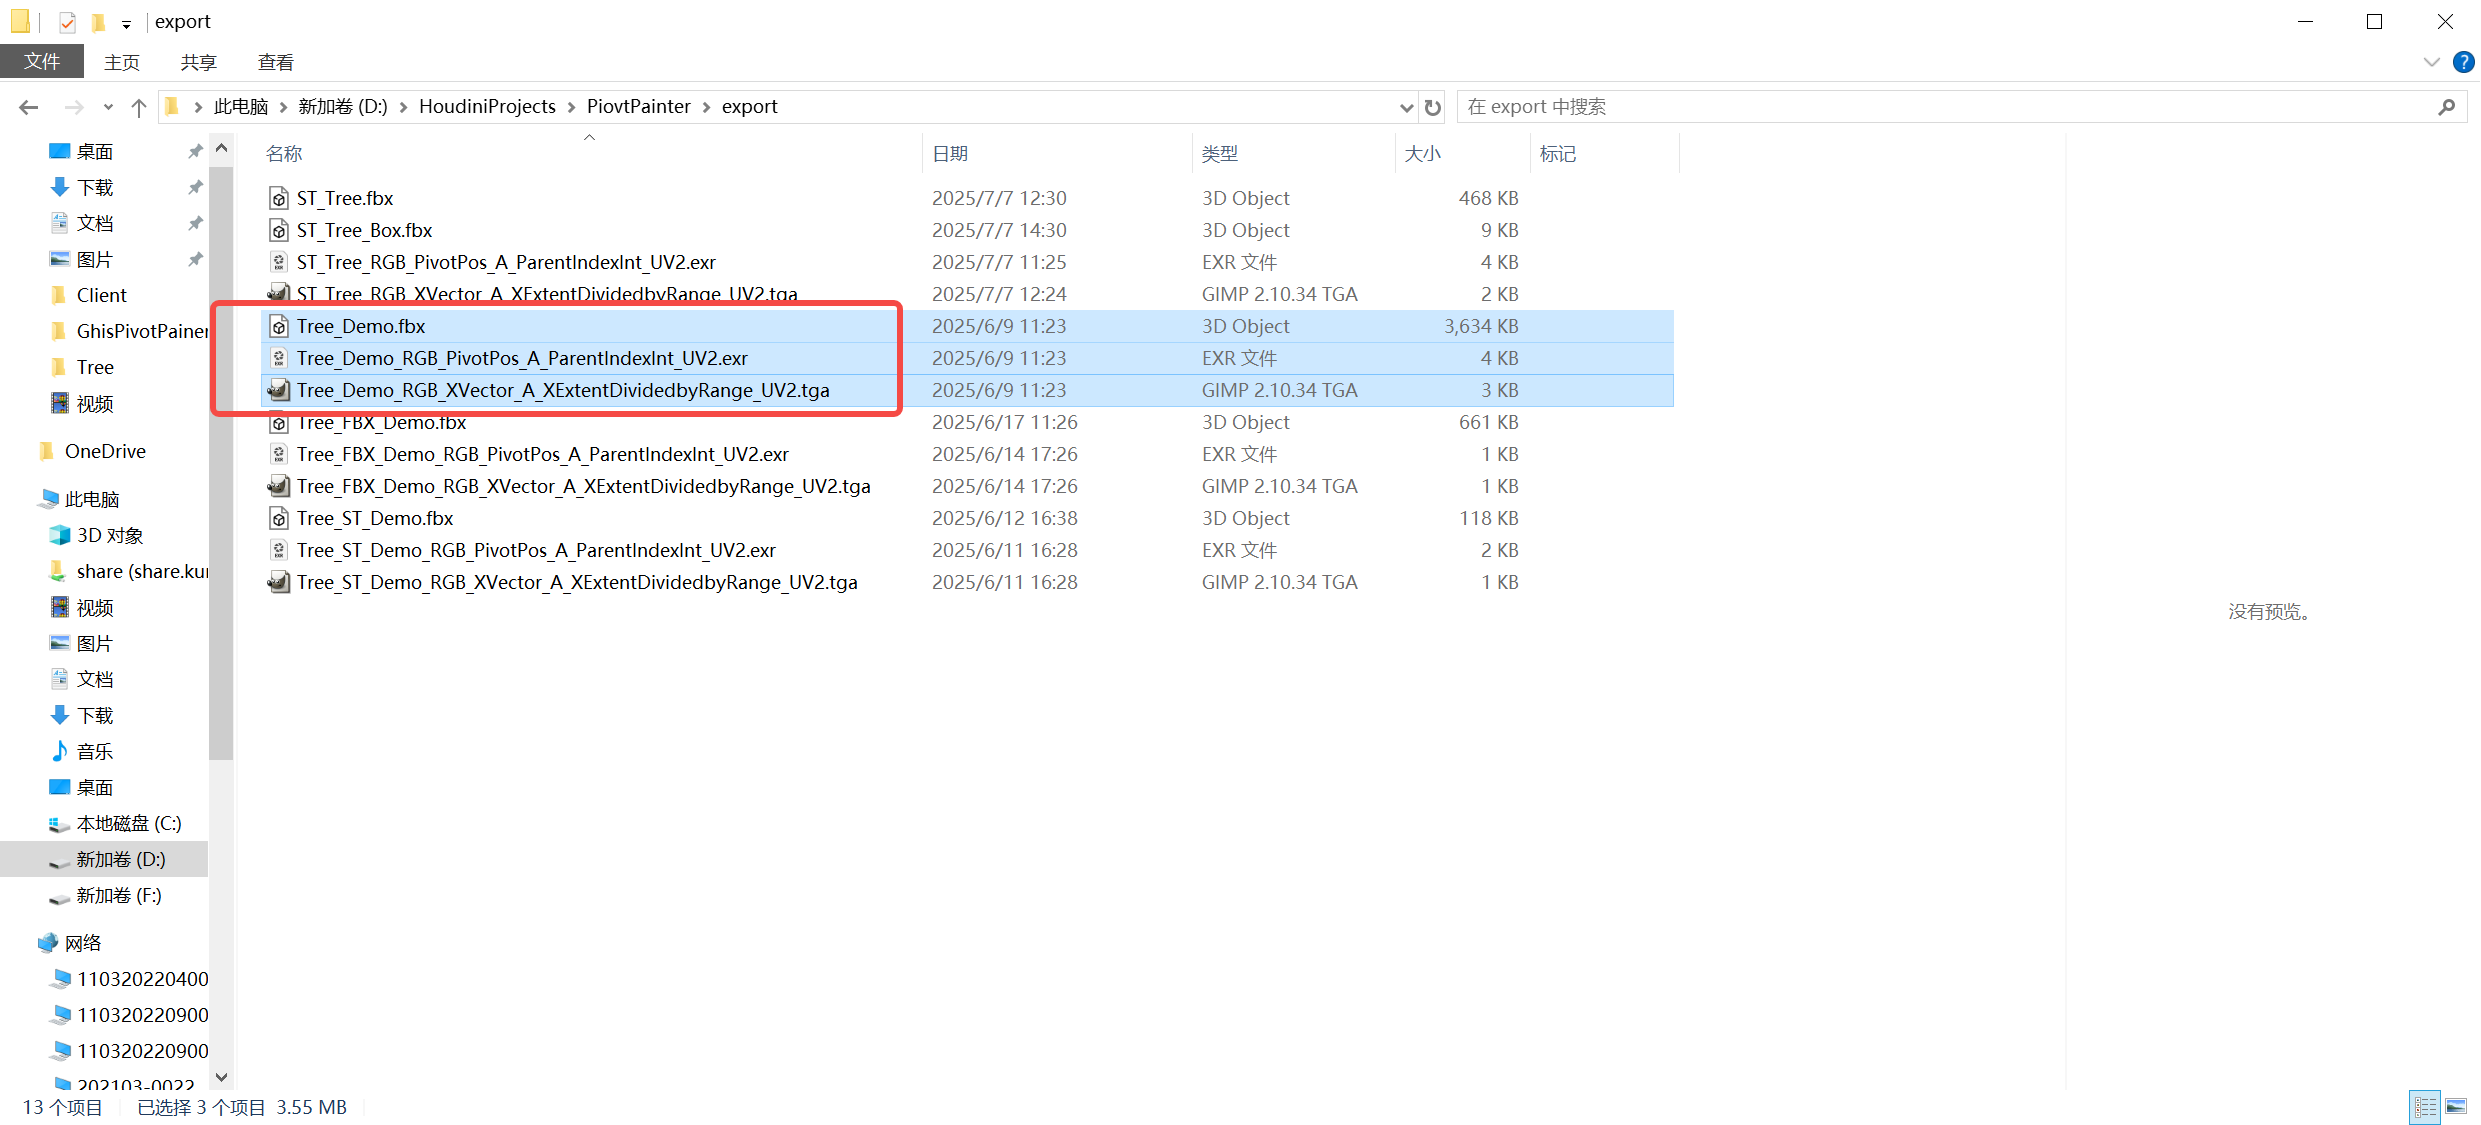
因为最终我们输出的PivotPos(RGB)&ParentIndex(A)贴图、 XVectoer(RGB)&XExtent(A)贴图、树模型(UV1为CurrentIndex)Mesh。
最终想明白这些数据怎么得到:
-
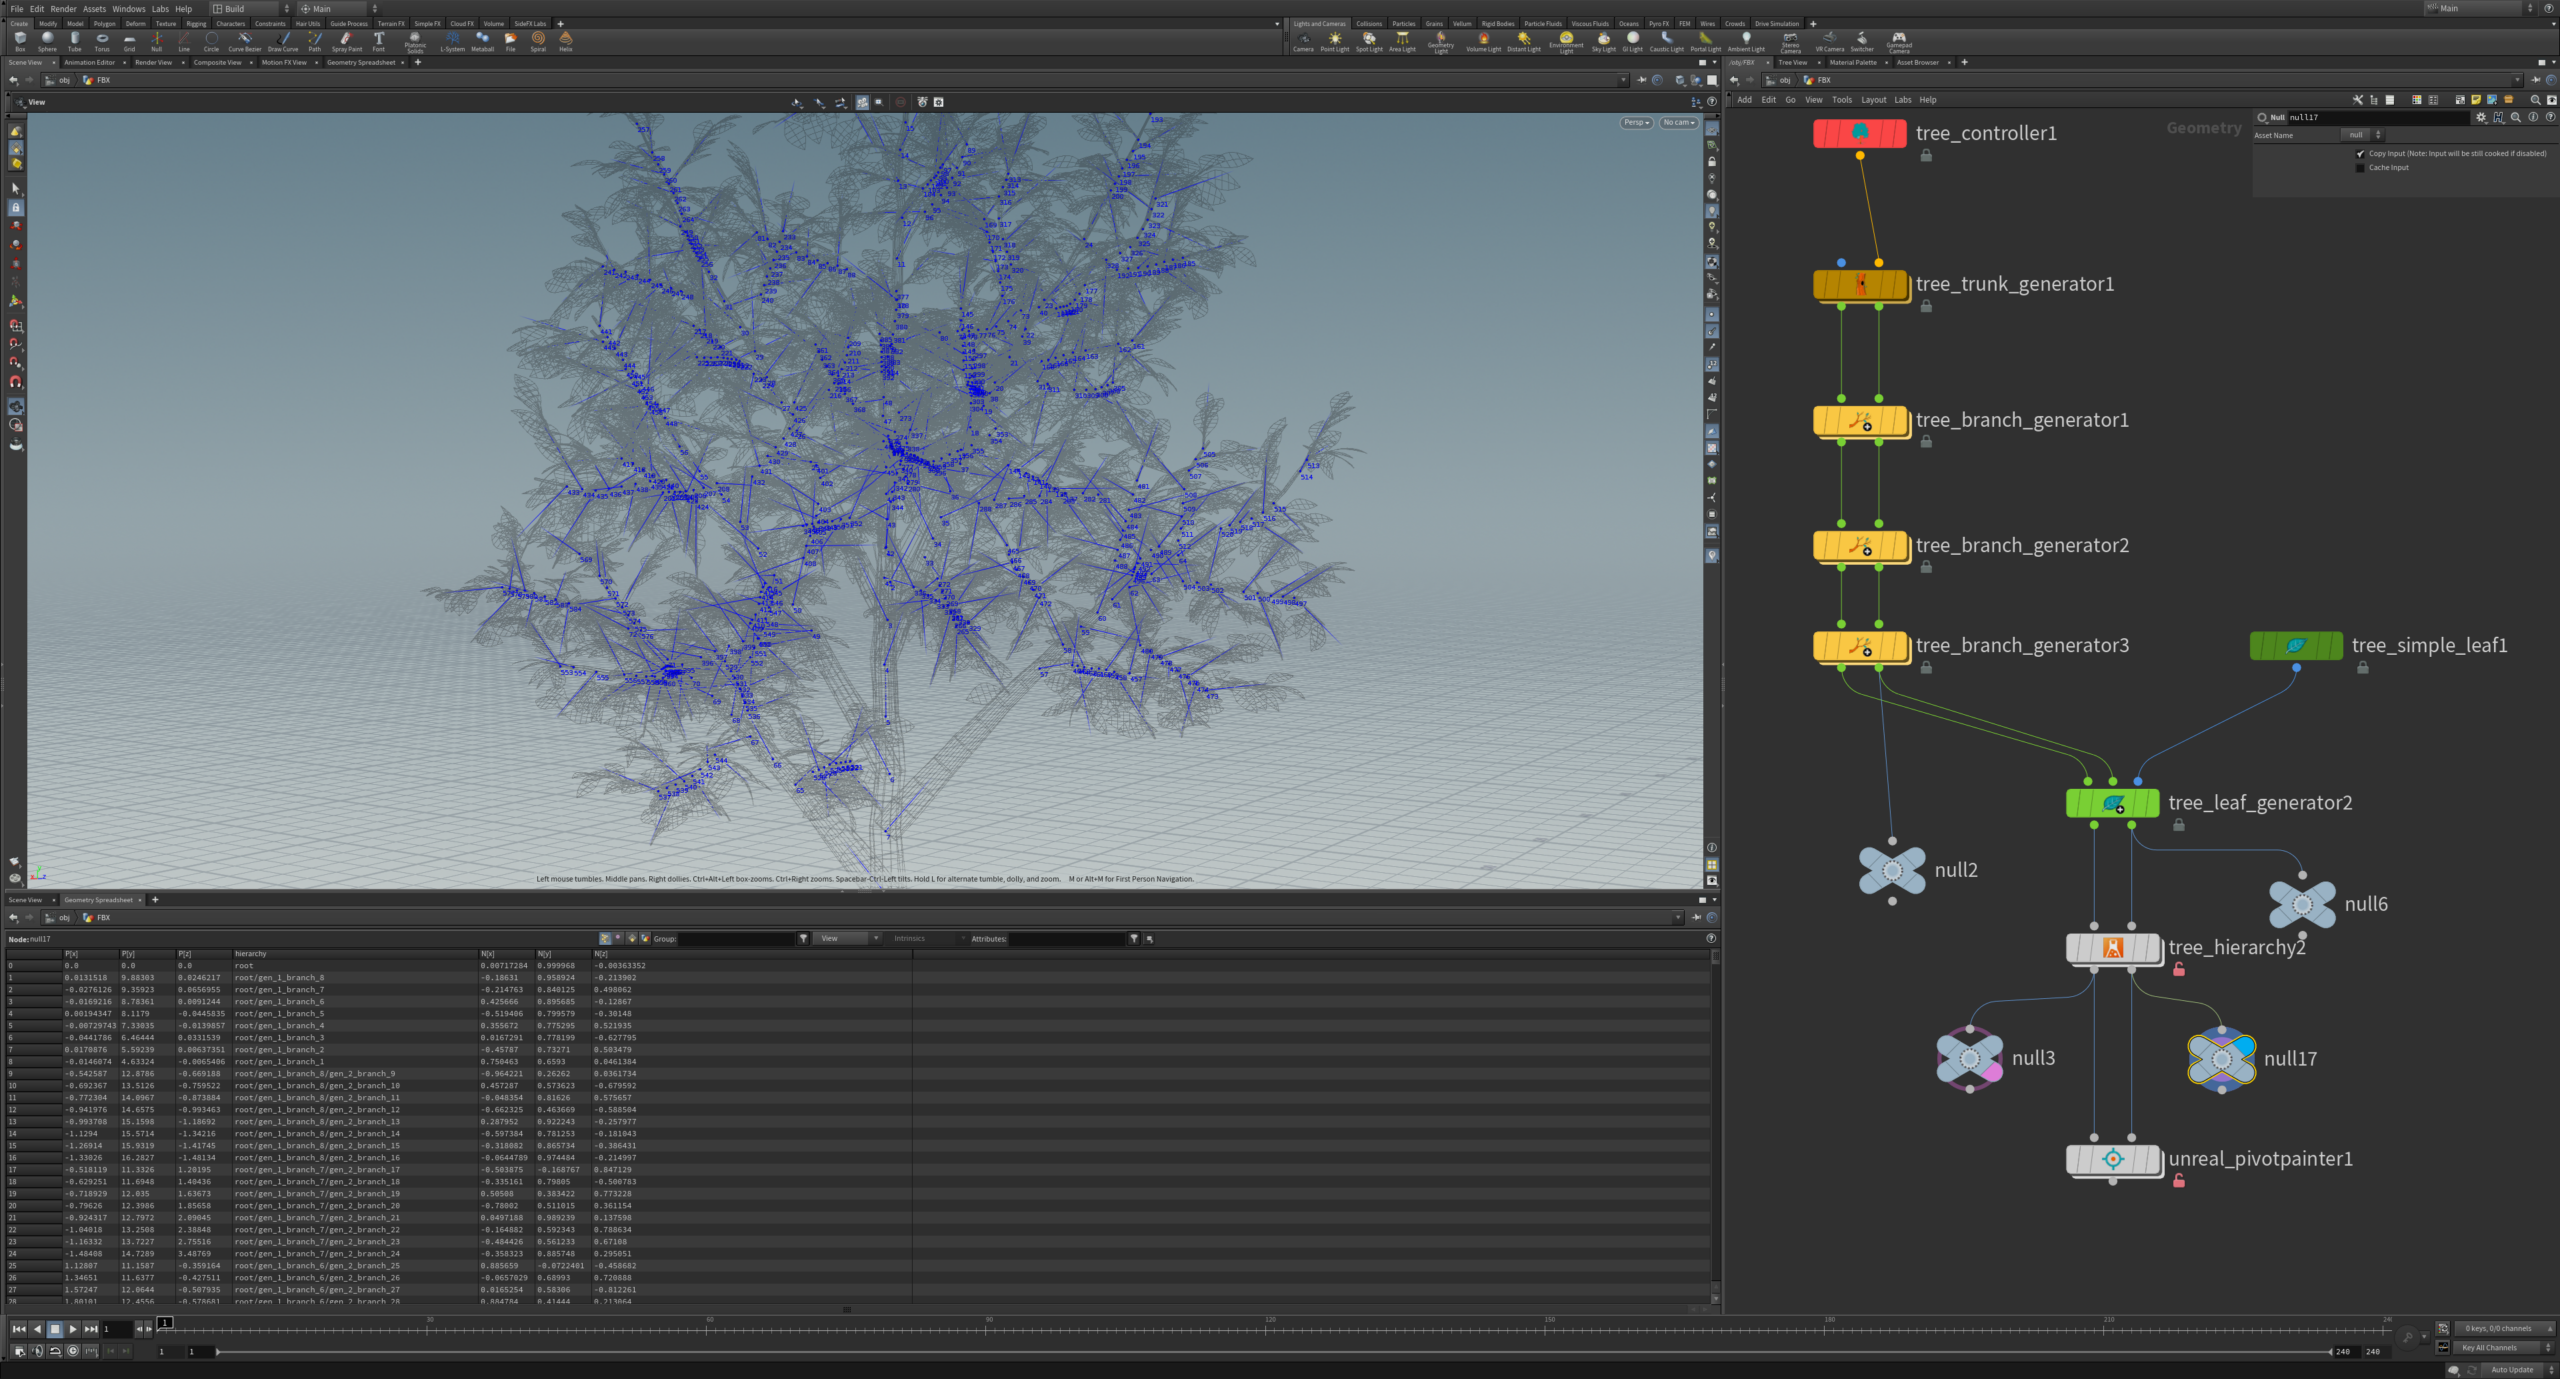
CurrentIndex:通过foreach遍历每个层级结构,当前循环次数就是对应的ID。也可以通过enumerate节点直接得到。相当于把所有层级通过字符串排序,从小到大依次是从0到N。
-
ParentIndex:我们直接对层级属性字符串通过 “/” 分割成字符串数组,如果数组长度小于2,ParentIndex=CurrentIndex,如果大于1,就用字符串最后一个/前的字符当匹配字符,去找哪个的prim的值和它匹配,那么这个prim的Index便是当前父级。
string hierarchysplit[] = split(s@hierarchy, "/"); if (len(hierarchysplit) < 2) { i@parentIndex = i@index; } if (len(hierarchysplit) > 1) { string parent = hierarchysplit[-2]; int prim = findattribval(0, "prim", "name", parent, 0); i@parentIndex = prim(0,"index",prim); } -
PivotPos:我们有带层级结构的Mesh,去找对应层级结构的轴点即可得到当前Mesh的轴点位置。
-
XVector:这个就是轴点的轴向,也是通过对应的层级结构去找到对应的轴点,即可在轴点上得到轴点朝向属性。
-
XEntent:轴点轴向的长度,这里是把长度独立出来做为A通道,这里轴长的计算直接使用Bound节点去算个包围盒,包围盒的最长轴即是轴长。

这里再讲下怎么得到PivotPainter贴图的A Index。
首先通过IndexCount(轴点总数)计算对应的贴图大小,
- 自动寻找一个合理的矩形贴图尺寸宽度和高度,尽量避免贴图太细或太长;
- 优先尝试能整除 轴点总数的贴图宽度;
- 如果无法整除或超出限制,退而选择最接近的方形贴图。
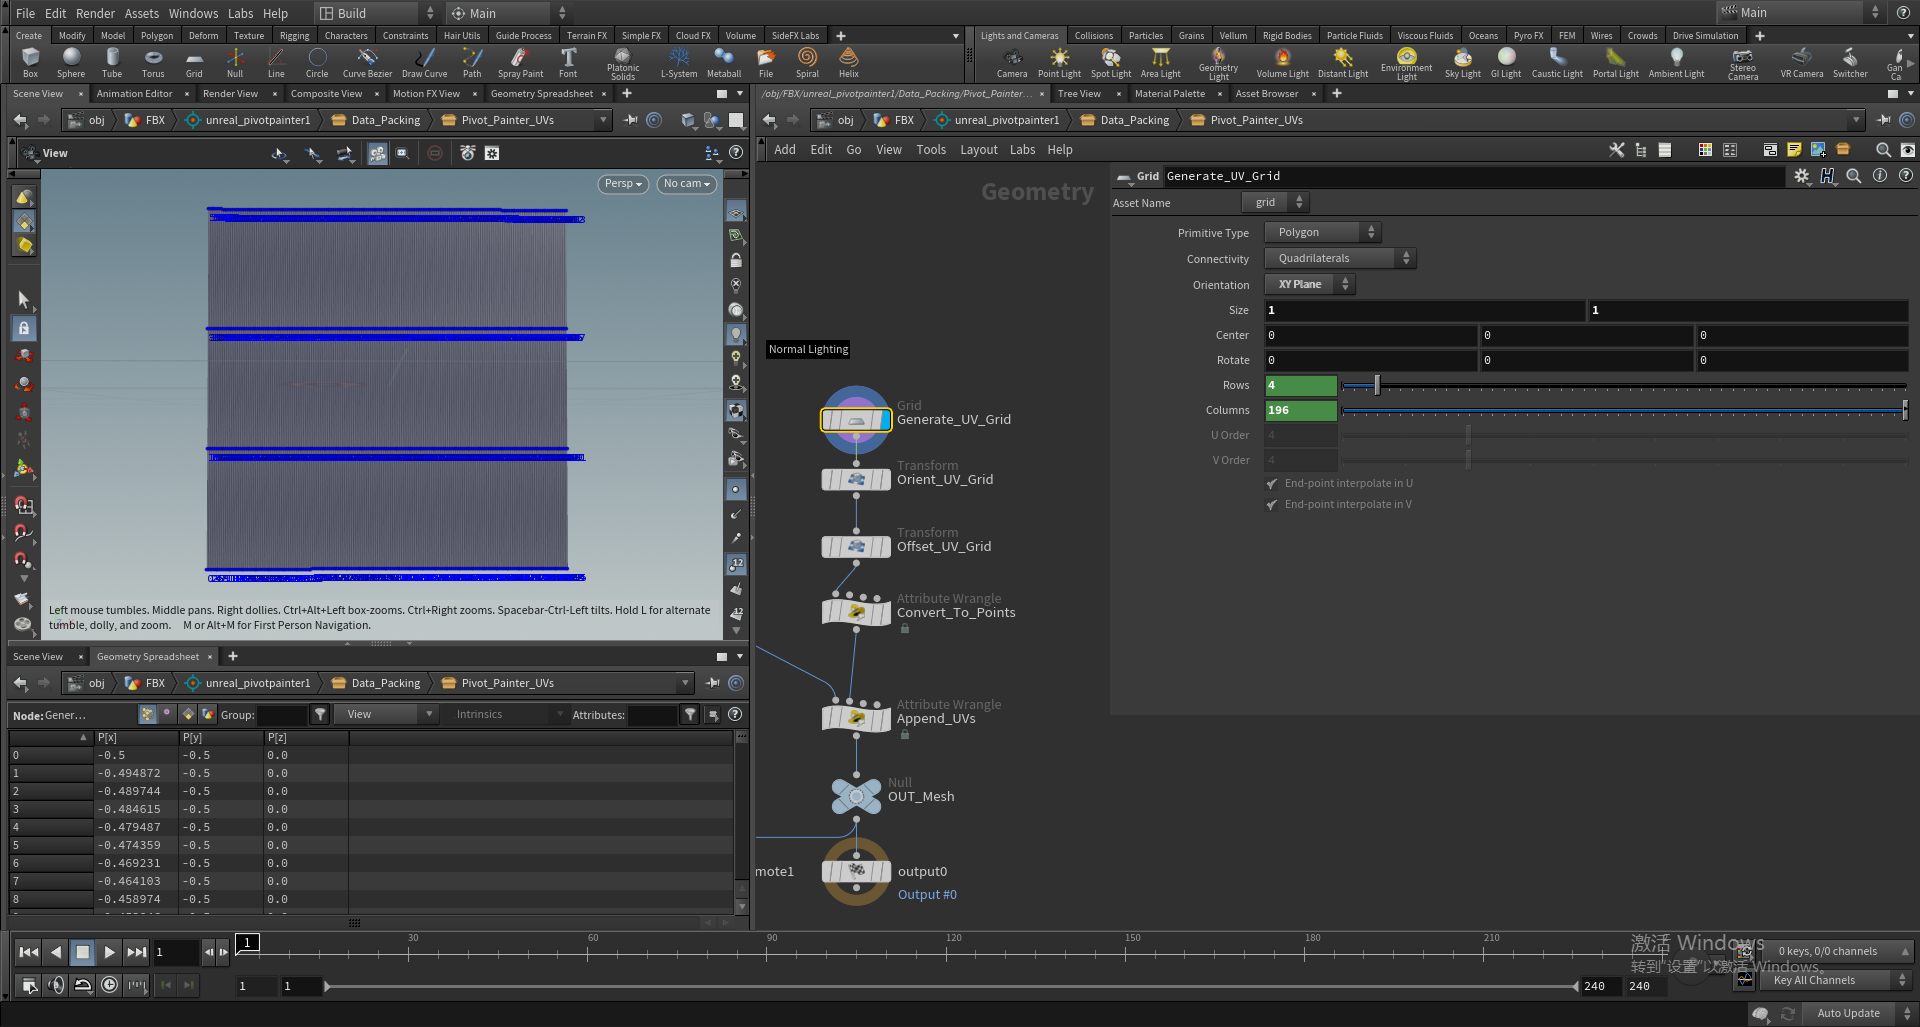
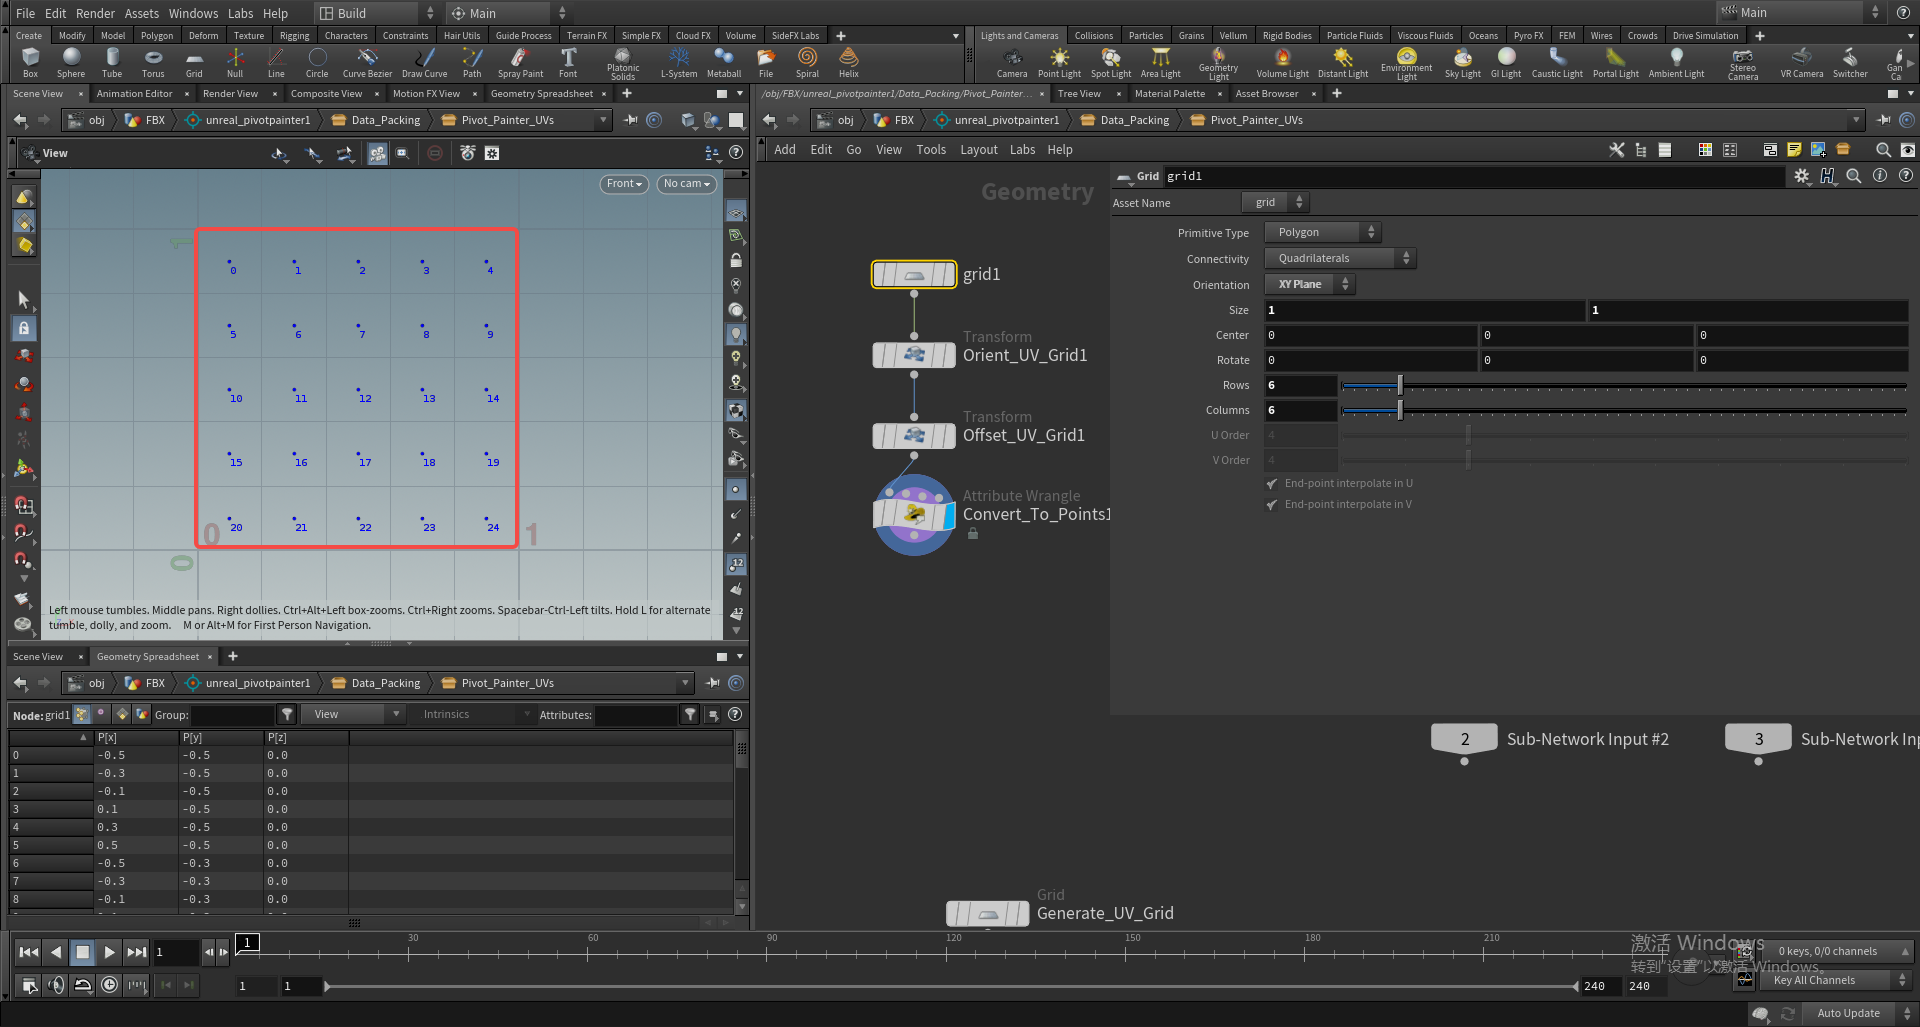
生成一个与贴图XY像素对应的1×1的grid平面。
这样一个层级的Index便对应平面Mesh的一个点序号,这个点的位置便对应采样的Index贴图的UV位置,与贴图XY像素对应。
我们记录下这个UV位置,做为第二套UV,UV2来采样我们最终输出的Pos&Index贴图。
houdini中Index编码
# 获取当前 Python SOP 节点和几何数据
node = hou.pwd()
geo = node.geometry()

# 导入 numpy 用于数值转换
import numpy

# 初始化列表用于存储 Primitive 的整数属性
parentIndexArray = []
selectionIndexArray = []

# 遍历每个 primitive,读取 "parentIndex" 和 "selectionIndex" 整数属性
for prim in geo.prims():
    parentIndexArray.append(prim.intAttribValue("parentIndex"))
    selectionIndexArray.append(prim.intAttribValue("selectionIndex"))

# ----------- 对 parentIndexArray 进行转换 -----------

# 转换为 numpy 的 int16 数组(16 位整数)
parentIndexArray = numpy.array(parentIndexArray, numpy.int16)

# 为了确保值为正数并避免 float16 无法表示负数,加上偏移量 1024
parentIndexArray += 1024

# 将数据 reinterpret 为 float16(注意只是解释位模式,不是数值转换)
parentIndexArray.dtype = numpy.float16

# 在 Primitive 上添加新的 float 类型属性 "parentIndexIntAsFloat"
parentIndexIntAsFloatAttrib = geo.addAttrib(hou.attribType.Prim, "parentIndexIntAsFloat", 0.0)

# ----------- 对 selectionIndexArray 进行转换 -----------

# 同样处理 selectionIndex:转换为 int16 数组
selectionIndexArray = numpy.array(selectionIndexArray, numpy.int16)

# 加偏移量确保能被 float16 安全表示
selectionIndexArray += 1024

# reinterpret 为 float16(不是实际转换,是类型重解释)
selectionIndexArray.dtype = numpy.float16

# 添加新属性 "selectionIndexIntAsFloat"
selectionIndexIntAsFloatAttrib = geo.addAttrib(hou.attribType.Prim, "selectionIndexIntAsFloat", 0.0)

# ----------- 将转换后的 float 值写入 geometry 属性 -----------

for i, prim in enumerate(geo.prims()):
    # 将 float16 值转换为 Python float 写入(Houdini 属性系统使用 float 类型)
    prim.setAttribValue("parentIndexIntAsFloat", float(parentIndexArray[i]))
    prim.setAttribValue("selectionIndexIntAsFloat", float(selectionIndexArray[i]))
16位的整数会以特定形式存储在32位的浮点数上:
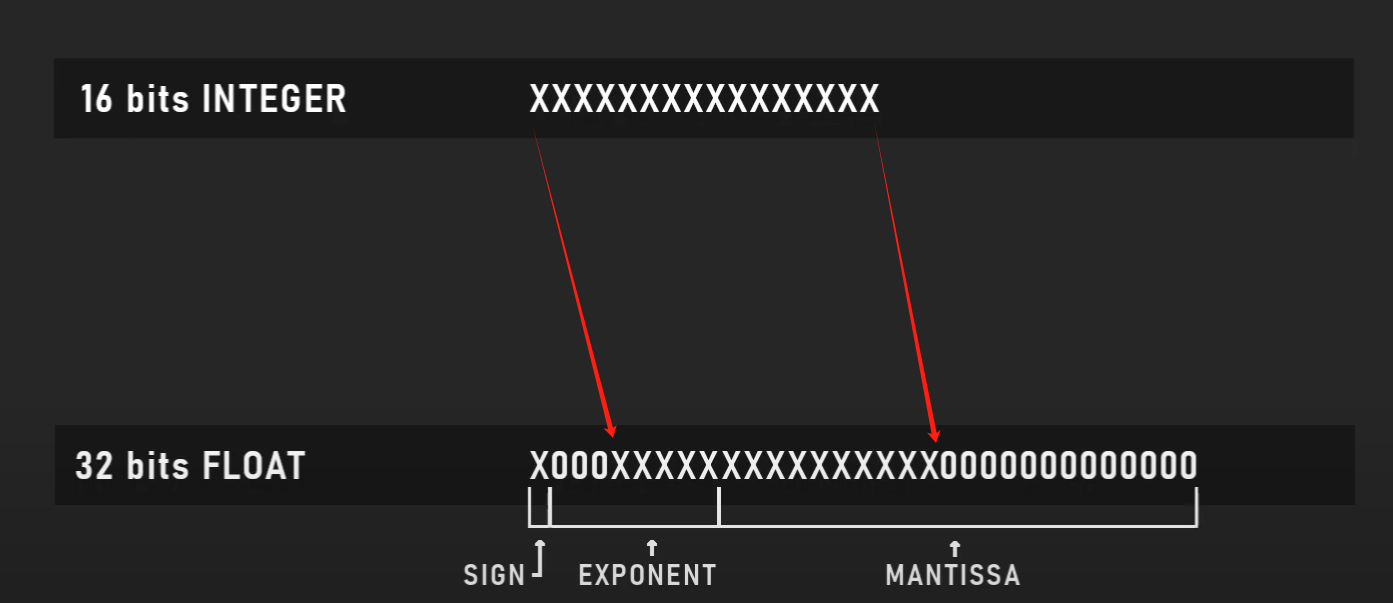
31(1) 30-23(8) 22-0(23)
UE材质中解码:
// 将 float 类型的 N 转换为 uint,获取它的 32 位二进制表示
uint uRes32 = asuint(N);

// 提取 float16 的符号位(float32 的第16位,映射到 float16 的第15位)
const uint sign2 = ((uRes32 >> 16) & 0x8000);

// 提取 float32 的指数位(第23~30位),并从 float32 偏移(127)转换为 float16 偏移(15)
// 左移 10 位,将其对齐到 float16 的 exponent 区域
const uint exp2  = ((((const int)((uRes32 >> 23) & 0xff)) - 127 + 15) << 10);

// 提取 float32 的尾数(mantissa)高 10 位,对应 float16 的尾数精度(10 位)
const uint mant2 = ((uRes32 >> 13) & 0x3ff);

// 将符号位、指数位和尾数组合成 float16 格式的 16 位整数值
const uint bits = (sign2 | exp2 | mant2);

// 减去 Python/Numpy 写入时加的偏移量 1024,尝试还原原始的 int 值
const uint result = bits - 1024;

// 将结果转换为 float 以返回(因为材质函数不能返回 int 类型)
return float(result);